
Key takeaways
- In a packed glTF ORM texture, red supplies occlusion, green roughness, and blue metallic data when the corresponding material bindings exist.
- WaterBottle binds both occlusion and metallic-roughness to texture 1, using UV set 0 and default factors of 1.
- A manually rebuilt Three.js material starts with metalness 0, unlike glTF’s default metallicFactor 1; a correct texture cannot compensate for a zero multiplier.
Read the material contract before repainting the texture
For glTF’s core metallic-roughness material, green carries roughness and blue carries metallic values. An occlusion binding reads red. A single image can therefore carry all three jobs, commonly called ORM. Treat those channels as data, not as the surface’s visible color.[1][5]
If a prop becomes unexpectedly shiny or loses its metallic appearance after a handoff, first trace what the material reads. The texture may be intact while a channel, multiplier, or binding changed. This applies to generated and hand-authored assets alike; a new texture is an expensive answer to the wrong wiring problem.
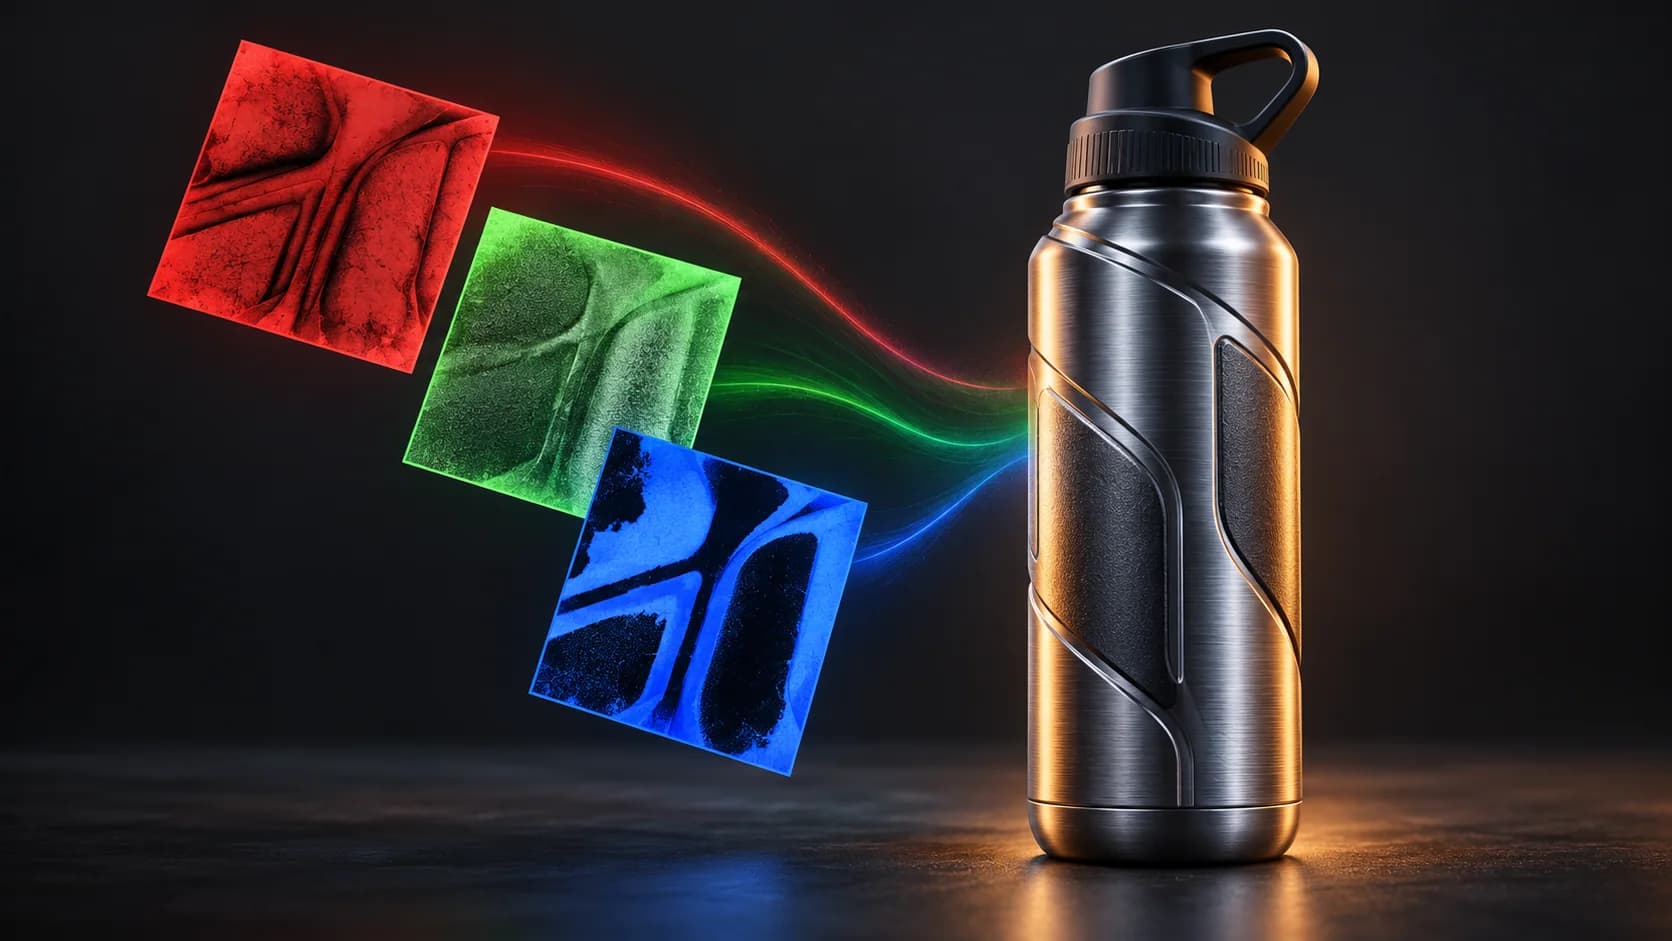
One PNG, two material bindings: the WaterBottle example
The public WaterBottle sample provides a small, inspectable case. In the pinned source, BottleMat points metallicRoughnessTexture.index and occlusionTexture.index to 1. Texture 1 points to image 1, WaterBottle_occlusionRoughnessMetallic.png. Those are zero-based array indices. The filename is a useful clue; the two bindings are the evidence that both jobs are connected.[2]
| Material use | Texture → image | Effective UV set |
|---|---|---|
| Metallic + roughness | 1 → 1 | TEXCOORD_0 |
| Occlusion | 1 → 1 | TEXCOORD_0 |
Neither binding writes texCoord, so each uses the glTF default of 0. The primitive supplies TEXCOORD_0. Metallic factor, roughness factor, and occlusion strength are also omitted, giving effective defaults of 1. These defaults are resolved from the specification, rather than invented values added to the source.[2][7][8][9]
For a different asset, follow both references separately. A shared image does not require the two bindings to select the same UV set. Conversely, finding useful red-channel pixels does not establish that the material has an occlusionTexture binding. This is why a texture folder alone is not a complete material handoff.[8][1]
What the actual texture bytes tell us
The inspected PNG is 2048 × 2048 RGB, with 3,577,832 file bytes. Its Git blob hash matches the pinned repository file. The report samples stored channel bytes without color conversion, filtering, or a UV lookup. Coordinates below start at the top-left of the image; these are atlas texels, not identified points on the bottle’s rendered surface.[3]
| Pixel (x, y) | Stored RGB | Occlusion R | Roughness G | Metallic B |
|---|---|---|---|---|
| 512, 512 | 241, 96, 251 | 0.945 | 0.376 | 0.984 |
| 1024, 1024 | 255, 100, 248 | 1.000 | 0.392 | 0.973 |
| 1536, 1536 | 255, 193, 0 | 1.000 | 0.757 | 0.000 |
The middle sample makes a channel swap concrete: its intended roughness input is about 0.392 and its metallic input about 0.973. Reversing G and B would exchange those two numbers before shading. That is a numerical wiring difference, not a photographed or measured appearance comparison. The final appearance also depends on the rest of the material and scene.
The downloadable JSON report preserves full six-decimal values, texture dimensions, hashes, bindings, and source URLs. Its companion Python script checks the exact input bytes before printing the same report. Download the two pinned source files listed in the report, then run the script with their local filenames. It needs Python and Pillow; it does not load a game engine.
The multiplier can erase a correctly connected map
Roughness and metallic factors multiply their sampled channels. Occlusion strength instead reduces the occlusion effect toward 1: effective occlusion = 1 + strength × (R − 1). At strength 0, the result is 1, meaning no occlusion effect. A simple R × strength calculation would be wrong.[7][9][1]
| Input | Setting | Result |
|---|---|---|
| G = 0.6 | roughnessFactor = 0.5 | 0.3 |
| B = 0.8 | metallicFactor = 0.25 | 0.2 |
| R = 0.2 | occlusion strength = 0.5 | 0.6 |
A practical trap appears when rebuilding the material manually in Three.js. A new MeshStandardMaterial starts with metalness 0 and roughness 1. Its metalnessMap uses blue and multiplies by metalness. Leaving that scalar at zero suppresses the map’s metallic contribution. This differs from glTF’s default metallicFactor of 1. Inspect the loaded material’s values before replacing it with a fresh material.[5][7]
That observation concerns a manual rebuild. It does not claim GLTFLoader ignores glTF defaults, and it is not an import test. The useful debugging question is precise: did the data change, or did the receiving material acquire different defaults?
Keep ORM out of the base-color conversion path
Three.js distinguishes color textures from non-color textures. Its material documentation assigns NoColorSpace to roughnessMap, metalnessMap, and aoMap; its color-management guide assigns sRGB to ordinary color maps such as base color and emissive textures. Do not mark every PNG as sRGB merely because an image viewer displays it in color.[5][6]
When checking an asset, keep three observations separate: the stored RGB bytes, the parameters the material derives from those bytes, and the final shaded image. This article establishes the first two for the pinned sample. A visually plausible composite PNG is not proof that any of those channels is being interpreted correctly.
Reproduce the file facts, then test the result in your scene
Use the source-linked report as a small reference case, then inspect your own asset’s material bindings and effective factors. Preserve a copy before editing. Change one suspect assignment at a time and compare in the same scene and lighting, so a material correction is not confused with a presentation change. This is a proposed debugging method, not a test performed for this article.
The WaterBottle model-associated files are listed under CC0-1.0; its license file distinguishes metadata terms and excludes logos and trademarks. The report credits Microsoft’s sample and links to the exact originals. It redistributes neither the mesh nor the texture. The cover is separate conceptual artwork.[4]
Evidence used
- WaterBottle ORM inspection report
Original binding and raw-pixel report with pinned source URLs, verified file hashes, normalization method, and explicit limits.
- Reproduce the file inspection with Python
Read-only Python inspector requiring Pillow; takes two local files, checks their pinned hashes, and prints the report without rendering or network calls.
Sources
- 1.glTF 2.0 specification: official source, matching the registry revision — Khronos Group. Accessed 2026-10-03.
- 2.WaterBottle glTF, pinned source file — Khronos Group. Accessed 2026-10-03.
- 3.WaterBottle occlusion-roughness-metallic PNG, pinned source — Khronos Group. Accessed 2026-10-03.
- 4.WaterBottle asset license — Khronos Group. Accessed 2026-10-03.
- 5.MeshStandardMaterial: channels, factors, and defaults — Three.js. Accessed 2026-10-03.
- 6.Color management: color and non-color textures — Three.js. Accessed 2026-10-03.
- 7.glTF metallic-roughness schema and defaults — Khronos Group. Accessed 2026-10-03.
- 8.glTF texture binding and UV default — Khronos Group. Accessed 2026-10-03.
- 9.glTF occlusion strength and default — Khronos Group. Accessed 2026-10-03.
Plan the asset and its handoff together
Explore Goblin3D’s image-to-3D workflow, then inspect the material data in your own exported asset.
Explore image to 3DRelated Goblin3D guides and tools
Sources, product facts, and original evidence were checked before publication.