
Key takeaways
- Three.js renders and organizes a 3D scene; generated models supply assets, while gameplay still needs code.
- A successful GLB import is only one acceptance check: animation, collisions, visual fit, loading, and device performance remain separate.
- Texture dimensions matter: one 4096-square RGBA8 texture with mipmaps is about 85.33 MiB before other scene costs.
Three.js and generated 3D solve different parts of the game
Three.js is the rendering layer: it helps code arrange cameras, lights, materials, and objects into a visible 3D scene. An AI-generated model is content that can go into that scene. They can work together. Neither a model file nor a rendered scene automatically supplies movement rules, collision behavior, objectives, or a finished game.[2][1]
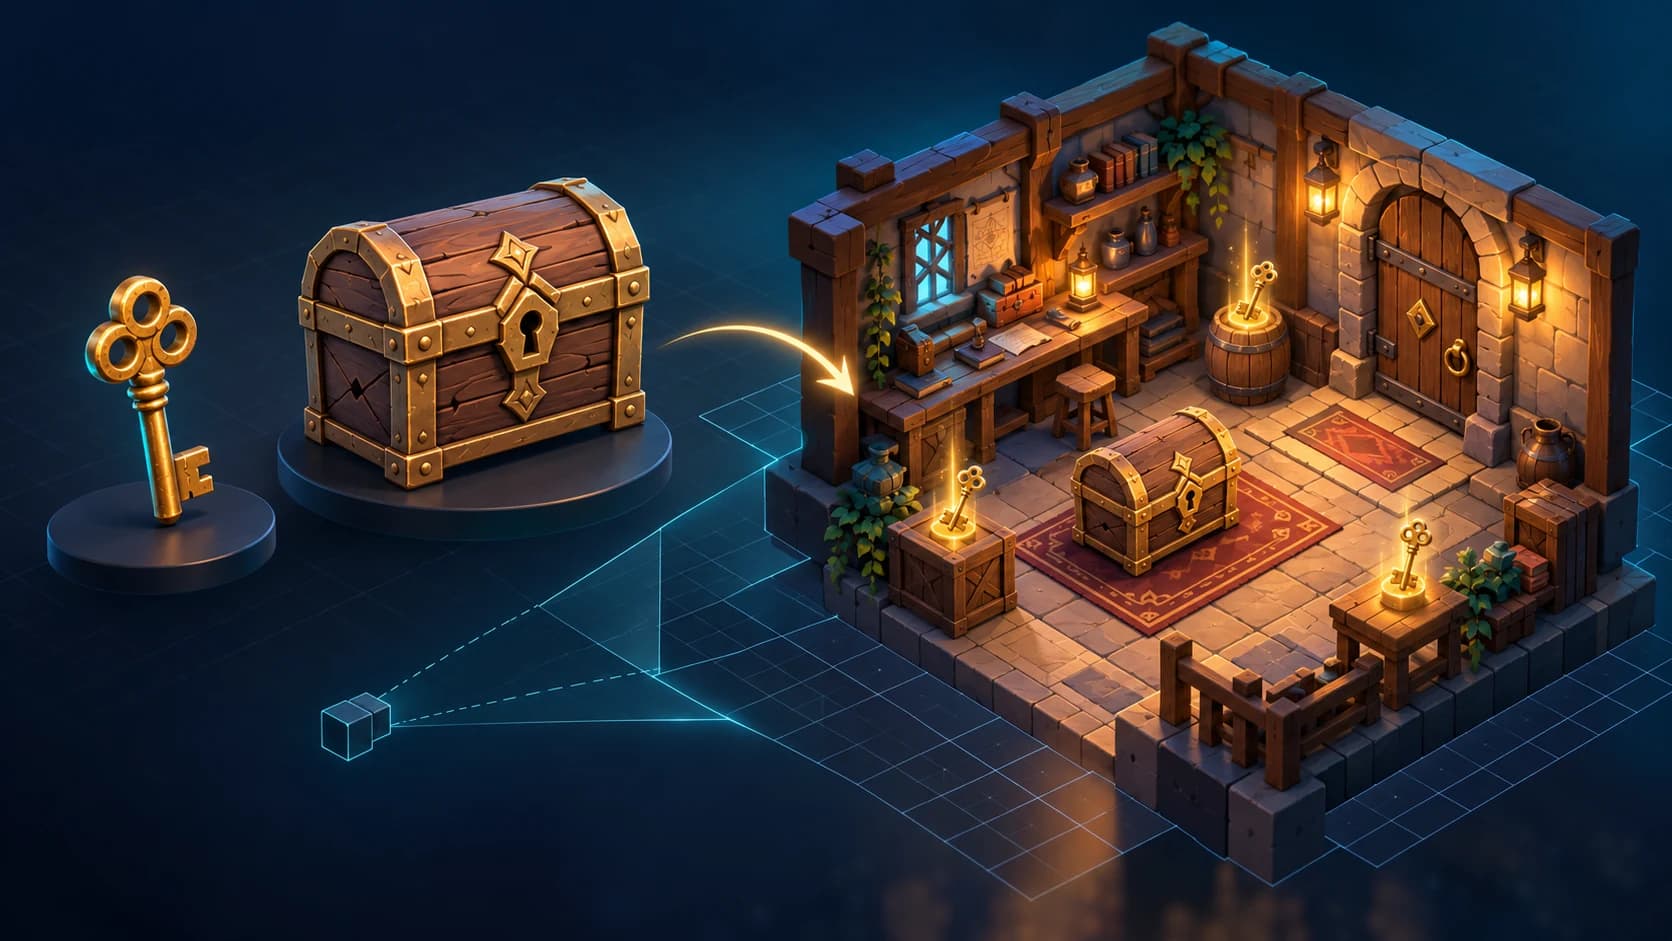
For a concrete example, imagine a browser game where the player collects three keys inside a small workshop. An asset tool can help create the workshop prop. Three.js can display it. Your game code must still decide where the player can walk, how a key is collected, and when the exit opens. Start by proving those interactions with simple boxes before replacing them with detailed art.
When Three.js is a good fit, and what you take on
Three.js is worth considering when your project belongs on a web page and you want control over its rendering and interface. Its scene, camera, and renderer abstractions let you work above raw graphics calls. That is a useful fit for a small web-first prototype, especially if you already maintain a JavaScript interface. This is a workflow recommendation, not evidence that most game developers have switched to it.[2]
The tradeoff is ownership. The official game tutorial explicitly separates the 3D library from systems such as physics, input, and pathfinding. If your schedule depends on ready-made game systems or a comprehensive editor workflow, evaluate an engine-oriented stack too. Decide by the systems you need to ship, rather than by how impressive a short demo looks.[1]
| Task | Asset work | Runtime or game work |
|---|---|---|
| Make the workshop recognizable | Shape, materials, readable silhouette | Camera and lighting that preserve readability |
| Make a door usable | Separate moving parts if needed | Interaction state, hinge motion, collision behavior |
| Show a character walking | Usable rig and animation clips if required | Playback, transitions, movement, collision response |
| Keep the game responsive | Appropriate geometry and textures | Loading, draw calls, device testing, quality settings |
Treat the exported model as an asset handoff
Goblin3D’s public image-to-3D page describes textured models and GLB, OBJ, and FBX exports on paid plans. For a Three.js prototype, check the GLB route first because GLTFLoader loads glTF 2.0 assets. That is a format-level starting point, not a claim that every export will satisfy your game’s requirements. No Goblin3D model was generated or imported for this guide.[8][3]
Before wiring the file into gameplay, run it through the Khronos glTF Validator. Its report covers format and data issues, with asset statistics. Resolve errors and inspect relevant warnings. A clean validation report does not establish that an object looks right, animates well, or runs fast on your target phone. Those are separate acceptance decisions.[4]
Compression also has a runtime side. GLTFLoader documents extra decoder setup for Draco-compressed meshes, KTX2 textures, and Meshopt-compressed assets. Check the extensions in the file and the requirements of the Three.js version you ship. A smaller download is unhelpful if the deployed app is missing its decoder.[3]
A small download can still become a large texture allocation
The Three.js texture guide distinguishes compressed image download size from texture memory and gives a width × height × 4 × 1.33 estimate. The table below recalculates the full mip chain for square, power-of-two RGBA8 textures: four bytes per pixel, including every level down to 1 × 1. Values use MiB, where 1 MiB is 1,048,576 bytes. These are calculated examples, not measurements.[5]
| Texture dimensions | One texture | Three textures |
|---|---|---|
| 512 × 512 | 1.33 MiB | 4.00 MiB |
| 1024 × 1024 | 5.33 MiB | 16.00 MiB |
| 2048 × 2048 | 21.33 MiB | 64.00 MiB |
| 4096 × 4096 | 85.33 MiB | 256.00 MiB |
The 4096-square example is about 85.33 MiB for one texture, or 256.00 MiB for three. Reducing each edge to 2048 cuts the modeled storage to roughly one quarter. Real allocations can differ because of GPU compression, formats, alignment, copies, render targets, and browser behavior. Do not use this table as a prediction of total game memory.
Use the downloadable JSON worksheet in the evidence section to reproduce the arithmetic and record your own asset decisions. Its source URLs, formula, assumptions, exact byte totals, and suggested checks are included. It contains no benchmark results or implied product test.
An eight-step acceptance pass for the first playable build
- 1
Prove the mechanic with placeholders
Make one complete interaction work before adding final art: move, collect, win, and restart. Keep the test scene small.
- 2
Inspect the export
Validate the file; check its visible shape, scale, orientation, and material appearance. Record failures instead of treating a successful download as acceptance.[4]
- 3
Load the deployed file
Confirm the actual hosted asset loads and any required decoders are available. Test loading failures and retry behavior.[3]
- 4
Check animation separately
Inspect whether the file contains the clips your design requires. Imported clips do not decide your game’s movement or animation state transitions.[3]
- 5
Use deliberate collision shapes
Decide which surfaces block movement and which objects trigger interactions. Visual geometry and collision behavior are different responsibilities.[1]
- 6
Check the camera view
Judge the asset at the distance and screen size the player will see, not just in a close-up preview. Simplify details that no longer contribute.
- 7
- 8
Retest after art changes
Repeat the same route through the scene after changing textures, geometry, or materials. Keep the previous build for comparison and record what changed.
Choose the next tool by the problem you actually have
If the game is hard to play with boxes, improve the interaction first. If the mechanic works but the scene lacks recognizable objects, work on the assets. If the art is convincing but the game stalls, profile loading and rendering before generating more detail. This separation keeps an attractive model from hiding an unfinished game.
Evidence used
- Browser-game asset readiness and texture-memory worksheet
Original reproducible arithmetic dataset and blank acceptance worksheet, with source provenance and explicit unmeasured-runtime limits.
Sources
- 1.Making a Game — Three.js. Accessed 2026-10-02.
- 2.Fundamentals — Three.js. Accessed 2026-10-02.
- 3.GLTFLoader — Three.js. Accessed 2026-10-02.
- 4.glTF-Validator — Khronos Group. Accessed 2026-10-02.
- 5.Textures: memory usage and mipmaps — Three.js. Accessed 2026-10-02.
- 6.WebGL best practices — MDN Web Docs. Accessed 2026-10-02.
- 7.WebGLRenderer — Three.js. Accessed 2026-10-02.
- 8.Image to 3D — Goblin3D. Accessed 2026-10-02.
Plan one asset for your prototype
Explore Goblin3D’s image-to-3D workflow, then inspect any exported result against your own game’s requirements.
Explore image to 3DRelated Goblin3D guides and tools
Sources, product facts, and original evidence were checked before publication.