
Key takeaways
- Preserve numeric relative depth before making a display image; a palette preview is not the working scalar array.
- Record which values mean nearer, normalization bounds and bit depth so the handoff is reproducible.
- Choose layer masks and motion deliberately; depth alone does not fill hidden regions or create a complete 3D asset.
Use relative depth as a guide for layered art
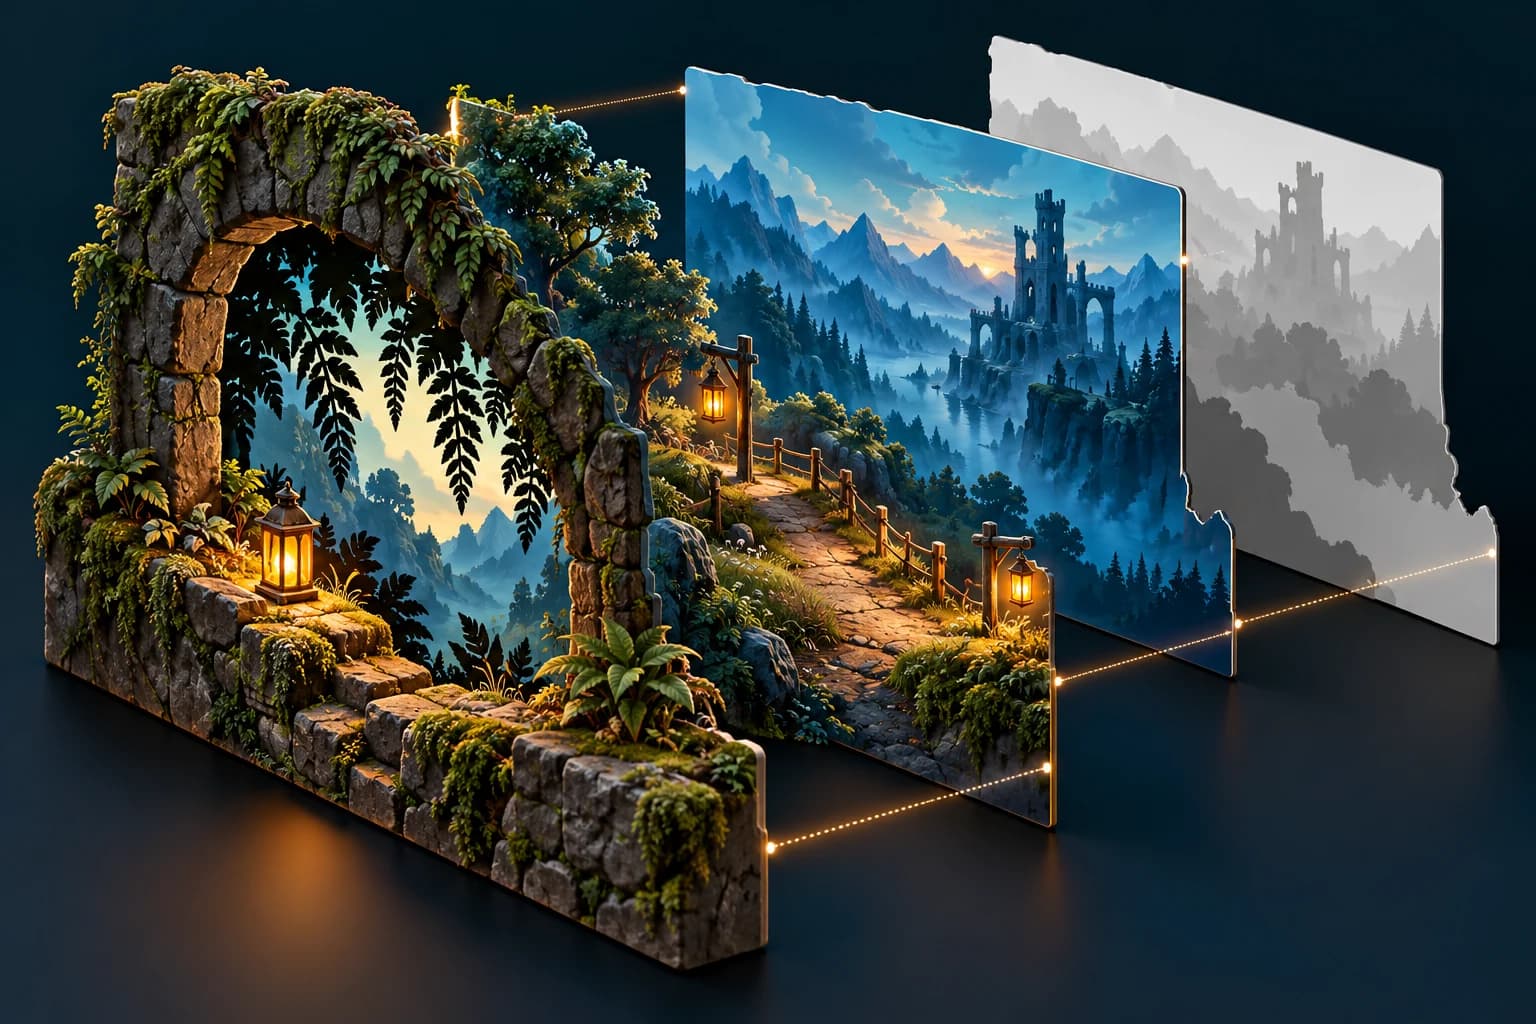
For a game-parallax background, keep Depth Anything V2’s numeric relative-depth output, choose an explicit near/far convention, and use it to guide masks and motion that you review yourself. The standard checkpoints estimate relative depth; their values are not a ready-made meter scale. A depth image is one input to the artwork handoff, not a finished playable scene.[1]
This guide uses the established V2 resource and its currently accessible documentation. It is not a launch announcement or a claim that V2 is the newest or best depth model. The Small Transformers checkpoint is publicly listed on Hugging Face; choosing a checkpoint still requires reading that exact model’s documentation.[5]
Save the numeric array before making a preview
Hugging Face documents predicted_depth as a floating-point prediction for each pixel. Its V2 example resizes the prediction, then separately normalizes it and casts it to an 8-bit display image. Save the numeric, appropriately resized array before that visualization step, together with the original image dimensions and the preprocessing choices.[3]
The authors’ pinned run.py also applies min–max normalization and a uint8 conversion before saving grayscale or colorized output. Selecting grayscale removes the color palette; it does not restore values discarded by that conversion. Do not feed the red, green or blue channel of a palette preview into a workflow expecting scalar depth.[4]
Resizing belongs in the record. A prediction resized to the source dimensions is still numeric data, but it is not the untouched network output. Keep the checkpoint identifier, source-image revision and resampling method beside the export so another artist can reproduce the same handoff.[3]
Make near/far polarity and normalization explicit
The supplied lab uses a near-bright contract: normalized 0 means far and normalized 1 means near. Its required near-is choice declares whether higher or lower input values mean nearer. Confirm that interpretation for your actual data and preview a known foreground/background pair; never guess polarity from an attractive grayscale thumbnail.
Min–max normalization maps the selected low and high values onto the endpoints. A large outlier can compress most of the scene into a narrow band. Percentile clipping offers a different editorial choice: it expands the middle range while deliberately flattening values beyond the selected bounds. Save those bounds and the count of clipped samples. Clipping is a lossy decision, not an accuracy improvement.
Reject malformed rows, nonfinite values and a collapsed normalization interval before exporting. A constant grid cannot define a meaningful near/far range for this lab. Silently returning a flat image would hide that failure from the person building the layers.
Reproduce the normalization and export experiment
The original downloadable lab runs with the Python standard library. It accepts a small, explicit JSON grid and writes grayscale 8-bit and 16-bit PNG files plus a manifest. The fixtures are deliberately synthetic so that every expected value can be inspected without a model download or a particular graphics application.
python3 reproduce.py --out-dir reproduced
python3 test_depth_normalize.py
python3 depth_normalize.py observed/fixtures/outlier-101.json --out-dir custom-export --near-is high --mode percentile --low-percentile 0 --high-percentile 99The recorded run on Python 3.12.14 passed 41 tests. Five successful exports produced ten grayscale PNGs, which were decoded to inspect their integer samples. Three additional fixtures, constant values, ragged rows and numeric overflow, were rejected before an output directory was created.
| Fixture and policy | 8-bit result | 16-bit result |
|---|---|---|
| 1,024-value ramp, min–max | 256 unique codes | 1,024 unique codes |
| 0…99 plus 10,000, min–max | First 100 samples: codes 0…3, 4 unique | First 100 samples: codes 0…649, 100 unique |
| Same outlier grid, percentile 0…99 | First 100: codes 0…255, 100 unique | First 100: codes 0…65,535, 100 unique |
For the outlier fixture, min–max uses bounds 0 and 10,000; the percentile policy selects 0 and 99 and clips exactly one sample above that range. The lab defines percentile interpolation explicitly in its manifest. Changing the policy changes the meaning of the image, even though its dimensions stay the same.
The 16-bit ramp retains more distinct codes than the 8-bit ramp because it has a larger integer range. It does not gain new depth information. Saving an already quantized 8-bit preview as 16-bit cannot recover the discarded distinctions, and an application that later reduces the file to 8-bit can discard them again. Inspect the import path separately.
Polarity is independently visible in the five-value fixture. With near-is high, the 8-bit output is 0, 64, 128, 191, 255; selecting near-is low reverses the ordering. This establishes the exporter’s contract on invented values, not the correct interpretation of an arbitrary model file.
Turn the guide into deliberate layer masks and motion
Use the normalized map to suggest broad foreground, middle and background groups, then edit the masks against the color image. A depth threshold can split one object or combine several objects; it is not a semantic segmentation result. Keep narrow silhouettes, gaps under arches and overlapping foliage visible during review.
Godot’s Parallax2D documentation describes scroll_scale as a camera-relative speed multiplier. A value of 1 matches camera scrolling; values below 1 suggest a farther layer, while values above 1 suggest a closer one. Those parameters are useful artistic controls. There is no universal conversion from an uncalibrated V2 value to a correct scroll_scale.[6]
| Decision | Keep with the asset |
|---|---|
| Near/far interpretation | Input convention and a known foreground/background sample |
| Normalization | Low/high bounds, clipping policy and rejected-input report |
| Layer authoring | Editable masks and source image revision |
| Motion | Chosen camera travel and per-layer speed |
| Export | Dimensions, bit depth and a numeric manifest |
Moving a foreground cutout can uncover colors that the original view never showed. The separate 3D Photo Inpainting research explicitly fills previously occluded color and depth regions for novel views. The practical inference here is narrower: a per-pixel V2 depth array alone cannot provide those missing colors or a complete 3D asset.[7][3]
Start with modest movement and inspect exposed gaps, silhouette edges and texture coverage at your intended camera extremes. Godot’s guide calls out viewport coverage and repeat sizing as separate concerns. A clean normalization report cannot prove that your background covers the camera view.[6]
Choose the checkpoint and keep the limits visible
The project labels the Small model Apache-2.0 and Base, Large and Giant CC-BY-NC-4.0. Do not assume one family-wide license: inspect the exact checkpoint’s applicable terms before a production decision. This article reports those labels rather than assessing your legal rights.[1][5]
For measurements in meters, inspect the separately fine-tuned metric models and their intended indoor or outdoor setting. Renaming an ordinary relative-depth export or stretching it to 16-bit does not calibrate it. This lab makes no claim about physical scale or depth accuracy.[2]
The scope is a single still image and its fixed guide map. Re-estimating depth independently for a video sequence introduces a different consistency problem and is outside this experiment. The download does not create masks, inpaint hidden areas, build geometry, assign collisions or validate game-engine imports.
A useful acceptance check is concrete: can another artist recover the same numeric export, identify which end is near, inspect any clipping, and understand which masks and camera choices still need work? Keep those decisions editable instead of treating a plausible depth preview as the final background.
Evidence used
- Download the complete depth handoff lab
Original normalizer, tests, fixtures, decoded observations, reproducible PNGs and provenance. No model weights or photographs.
- Read the normalization contract
Input limits, explicit polarity, percentile interpolation, reproduction commands and evidence boundaries.
- Inspect the scalar normalizer
Dependency-free Python code for deterministic 8-bit and 16-bit grayscale PNG exports and manifests.
- Audit the decoded observations
Measured integer samples, quantization counts, clipping bounds and three rejected synthetic fixtures.
- Inspect the executable tests
Validation, quantization, PNG structure and decoding, safe-output and CLI checks.
Sources
- 1.Depth Anything V2: standard models and license labels — Depth Anything authors. Accessed 2026-10-04.
- 2.Separately fine-tuned metric-depth checkpoints — Depth Anything authors. Accessed 2026-10-04.
- 3.Depth Anything V2: numeric predictions and visualization — Hugging Face. Accessed 2026-10-04.
- 4.Pinned image-export implementation — Depth Anything authors. Accessed 2026-10-04.
- 5.Depth Anything V2 Small: Transformers model card — Depth Anything authors. Accessed 2026-10-04.
- 6.Parallax2D layer movement and texture coverage — Godot Engine. Accessed 2026-10-04.
- 7.3D Photography using Context-aware Layered Depth Inpainting — Shih, Su, Kopf and Huang. Accessed 2026-10-04.
Continue the asset handoff
Use the related workflow guides to keep masks, numeric data and runtime decisions inspectable as your scene takes shape.
Explore the workflow libraryRelated Goblin3D guides and tools
Sources, product facts, and original evidence were checked before publication.